

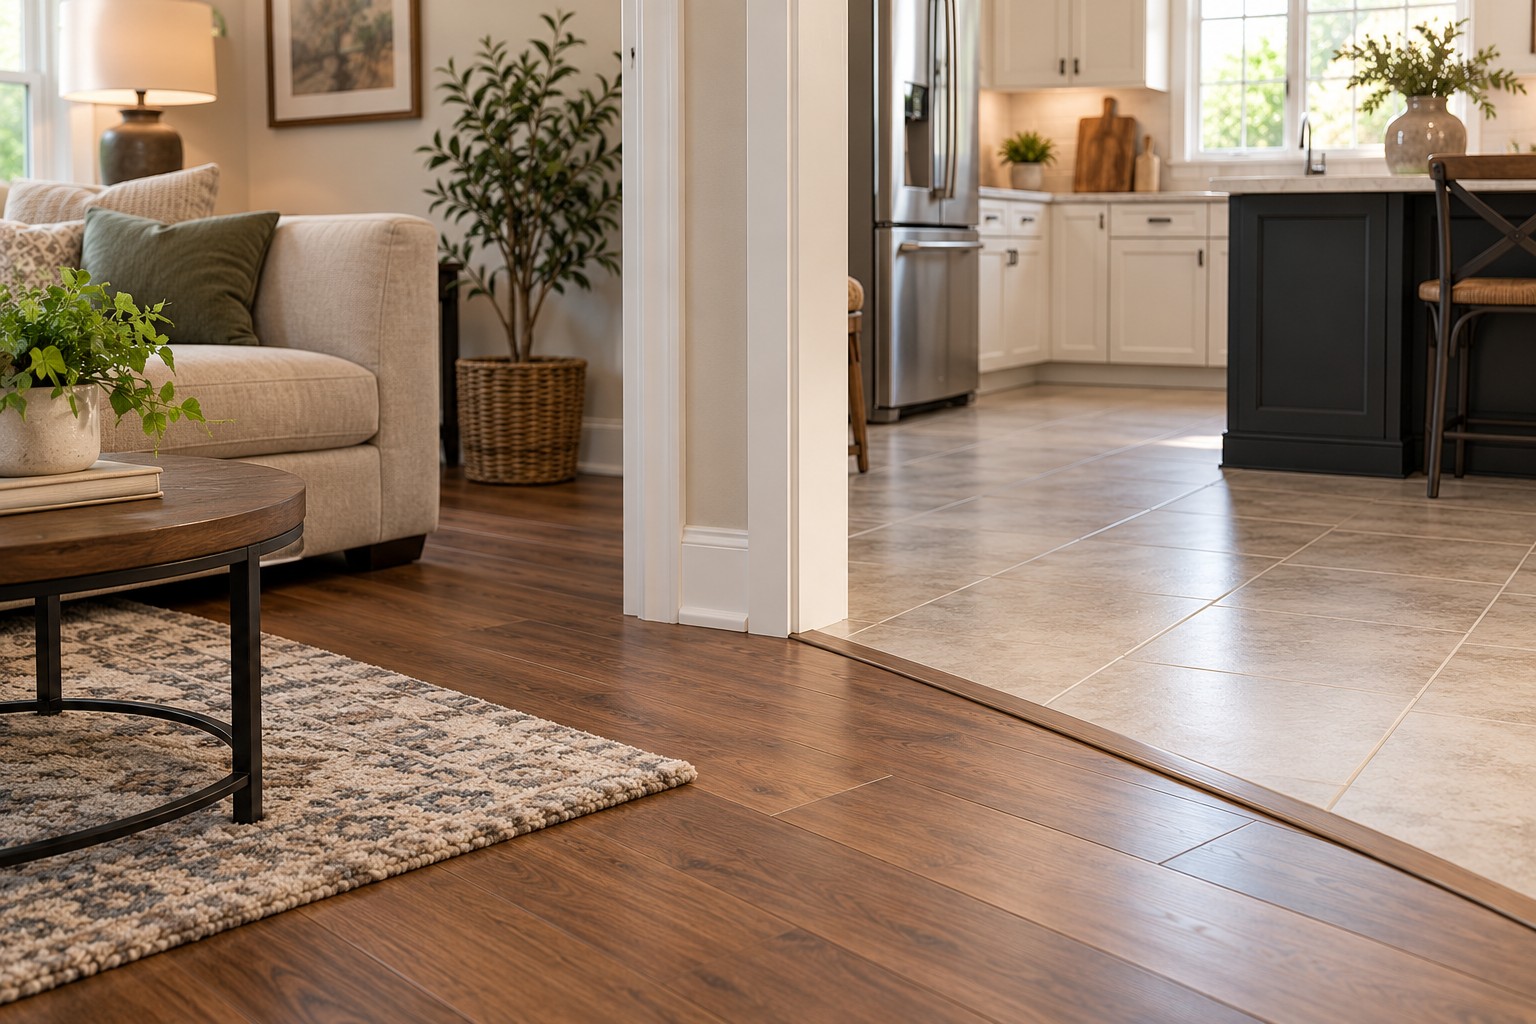
Open-concept floor plans across Northeast Arkansas rely on distinct surface materials to define living zones, kitchen prep areas, and bedrooms. Joining different surface textures creates clean visual borders throughout your home while protecting raw plank and tile edges from everyday foot traffic.
Shifting temperatures across humid Craighead County summers and dry winter cold snaps force materials to react differently over subfloors. Durable connection profiles prevent trip hazards, accommodate seasonal expansion, and preserve your finished floors for decades of daily family use.
At a Glance: Common Transition Profiles
- T-Moldings: Bridge adjoining surfaces of identical heights, allowing floating planks on either side to expand freely.
- Reducer Strips: Slope downward to join floors of unequal thickness, creating a safe, gradual incline between materials.
- End Caps (Square Noses): Finish exposed plank borders against vertical barriers like exterior sliding doors and brick hearths.
- Z-Bars and Tack Strips: Anchor stretched carpet backing under tension while tucking cut edges neatly against hard flooring borders.
- Metal Edge Trim: Guard delicate ceramic borders against impact damage while maintaining flush threshold lines.
Height Differences Between Adjacent Materials
Subfloor composition, underlayment thickness, and surface material structure determine finished floor heights throughout your living areas. A dense porcelain plank set into cured mortar sits noticeably taller than an unpadded click-lock board or stretched floor covering. Overlooking vertical variance leads to stubborn trip points and rapid wear along perimeter thresholds.
Expansion Gaps in Northeast Arkansas Climates
Floating composite planks expand and contract as regional indoor humidity shifts between heavy summer moisture and heated winter air. Fastening planks tight against rigid stone walls or tile borders causes floorboards to peak and buckle across long hallway runs. Resilient laminate needs a dedicated perimeter gap along room entries and transition tracks so the boards move freely without binding.
Subfloor Prep and Leveling
Concrete slabs in regional home foundations often feature slight dips between additions or adjoining rooms. Self-leveling underlayment smooths low pockets before installation crews set transition tracks into position. Proper prep work ensures every threshold sits stable and flush without bouncing under foot traffic.
Transitions Between Hard Surfaces
Connecting two rigid flooring products demands hardware capable of absorbing subtle height drops while hiding cut ends. Thresholds leading into kitchens and utility rooms experience constant foot traffic that will chip exposed floor edges if unshielded.
Plank to Tile Connections
Mortar beds make natural tile sit higher than adjacent click-lock floorboards. Hardwood reducers or sloped metal profiles create a smooth path between the two distinct elevations. The mounting track anchors directly to the subfloor beneath, securing the top piece firmly over the floating plank without restricting natural thermal movement.
Doorway Placement
Position your transition strips directly beneath the center of closed interior doors. Centering the track keeps kitchen surfaces invisible from the hallway when the door stays shut. This balanced alignment maintains clean sightlines throughout Paragould ranches and contemporary Jonesboro residences alike.
Transitions from Hard Surfaces to Soft Fibers
Moving between hard surface layouts and soft floor coverings creates comfortable spaces in bedrooms, bonus rooms, and family dens. Soft fibers need steady perimeter tension to prevent unsightly ripples, while adjacent hard planks demand sturdy edge reinforcement.
Plank to Carpet Borders
Square nose moldings paired with perimeter tack strips keep flexible fibers secured right next to floating boards. Durable carpet catches onto tension pins before installers roll the trimmed edge into a hidden metal channel. The rounded molding covers the plank border while maintaining the required expansion clearance beneath the cap.
Tile to Carpet Thresholds
Glazed ceramic borders crack under sudden footwear impact when left unprotected at threshold boundaries. Z-bar profiles tuck tufted loops beneath an anchored metal flange that rests flat against the grout line. This approach leaves zero exposed screw heads while shielding the perimeter edge of your stone or ceramic layout.
Material Selection for Transition Strips
Selecting the right profile material ensures everyday durability while coordinating with your overall home decor.
- Anodized Aluminum: Resists standing moisture and surface rust, making metal profiles ideal for entryways, mudrooms, and laundry borders.
- Matching Composite Moldings: Feature factory patterns that match your plank grain, creating continuous color across wide room thresholds.
- Natural Hardwood Reducers: Provide solid timber options that can be stained on site to blend custom finishes with adjoining materials.
Plan Your Room Updates with Local Specialists
Picking the ideal surface pairings, padding, and edge moldings takes careful planning before installation starts. Schedule a complimentary in-home design consultation and accurate measurement with Laws Flooring & Rugs to coordinate finishes, map doorway thresholds, and verify subfloor stability throughout your home.
Visit our local showroom location in Jonesboro, AR to inspect profile shapes, compare textures, and view wide surface displays in person. Our experienced team provides dependable advice to make sure every threshold in your home looks tailored and lasts through years of busy household traffic.
Arrange an appointment and review full project options with our flooring services team today.


